Hey there, tech enthusiasts! Are you ready to dive into the world of Raspberry Pi RemoteIoT? This little powerhouse is about to change the game for your smart projects. Imagine controlling devices, gathering data, and automating tasks from anywhere in the world—all with a tiny, affordable device. Sounds awesome, right? Well, buckle up because we’re about to explore everything you need to know about Raspberry Pi RemoteIoT and how it can elevate your tech game.
Raspberry Pi RemoteIoT isn’t just a buzzword; it’s a game-changer for developers, hobbyists, and tech-savvy individuals alike. Whether you’re building a home automation system, monitoring environmental data, or creating a smart garden, Raspberry Pi RemoteIoT can make it happen. In this article, we’ll break down the basics, explore its capabilities, and show you how to get started.
Before we jump into the nitty-gritty, let’s address the elephant in the room: why should you care? The answer is simple—Raspberry Pi RemoteIoT empowers you to create innovative solutions without breaking the bank. It’s versatile, scalable, and packed with features that cater to both beginners and advanced users. So, whether you’re a seasoned pro or just starting out, there’s something here for everyone.
- Murray Hone Evangeline Lilly What Happened After The Divorce
- Sarah Chalke From Scrubs To Rick Morty Whats New
Understanding Raspberry Pi RemoteIoT
What is Raspberry Pi RemoteIoT?
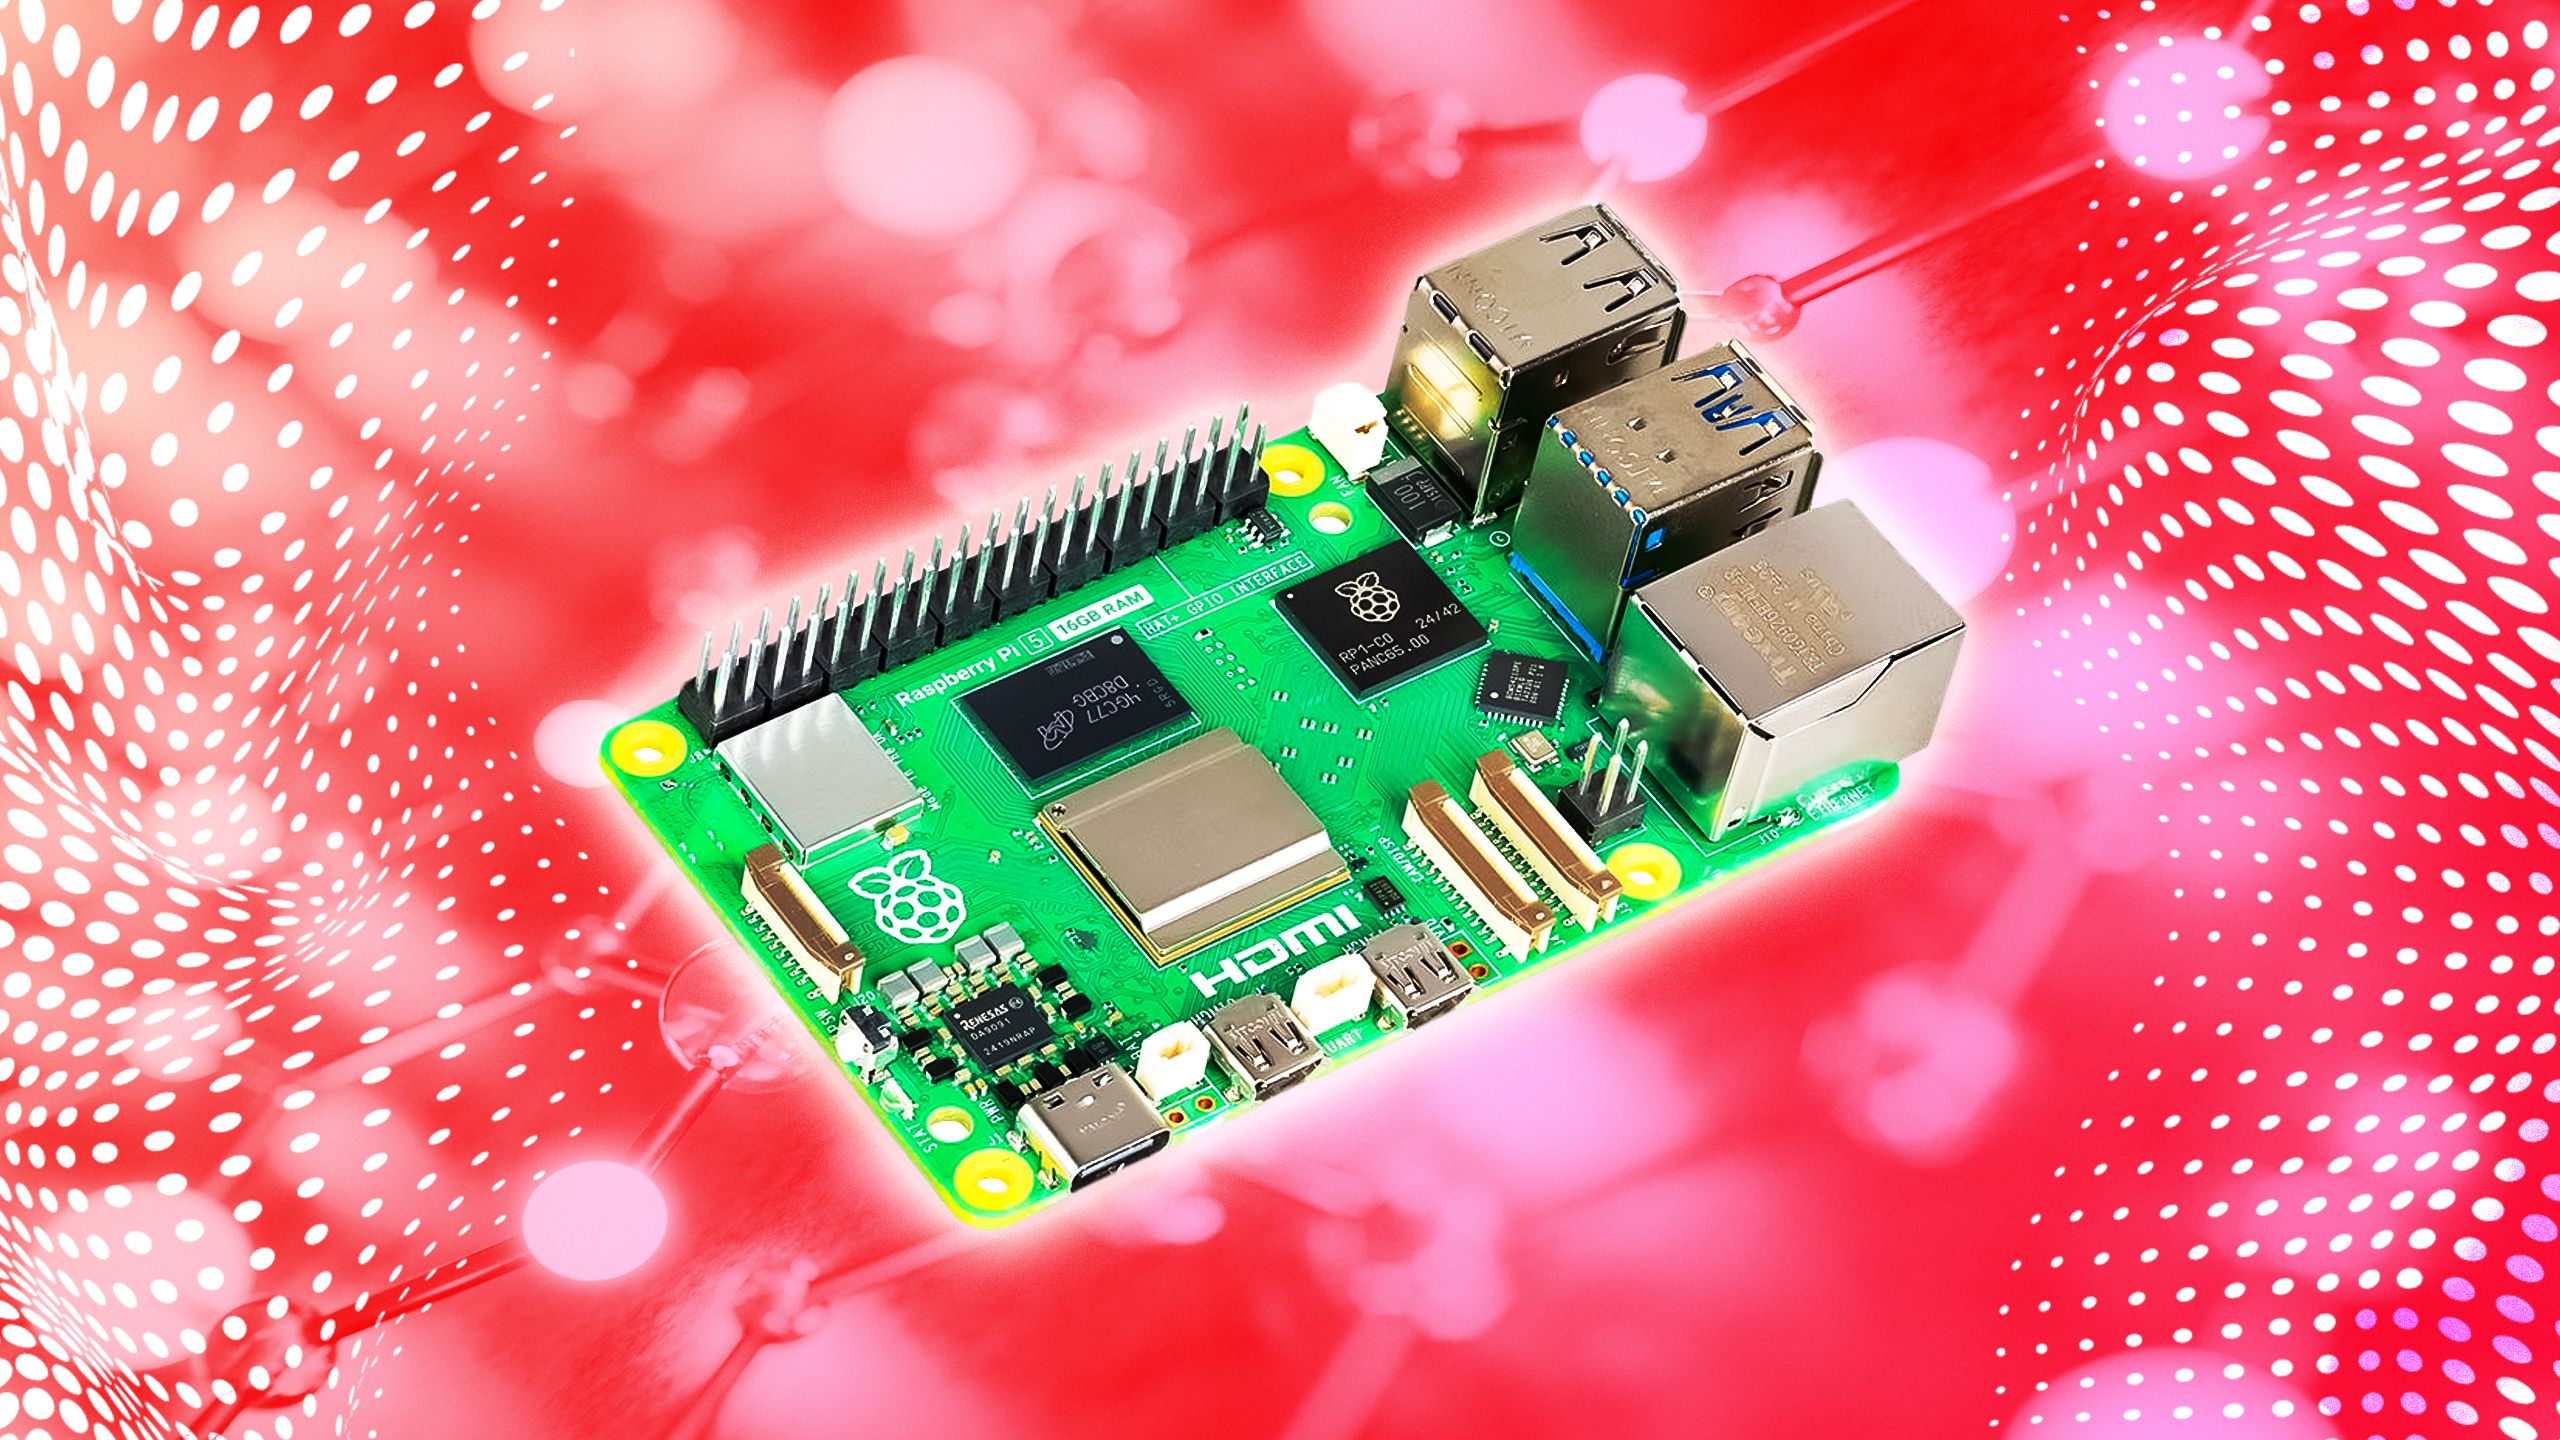
Raspberry Pi RemoteIoT refers to the ability to remotely control and manage IoT (Internet of Things) devices using a Raspberry Pi. This setup allows you to interact with various sensors, actuators, and other connected devices from anywhere in the world. The best part? You don’t need a degree in computer science to get started. With a few basic tools and some online tutorials, you’ll be up and running in no time.
Think of Raspberry Pi as the brain of your IoT project. It acts as a central hub that connects all your devices and enables seamless communication. By integrating remote access capabilities, you can monitor and control your setup from your smartphone, tablet, or computer. This opens up endless possibilities for creating smart homes, industrial automation systems, and even wearable tech.
Why Choose Raspberry Pi for RemoteIoT?
There are plenty of options out there for IoT projects, but Raspberry Pi stands out for several reasons. First and foremost, it’s affordable. You can pick up a Raspberry Pi for under $50, making it accessible to hobbyists and small-scale developers. Second, it’s highly customizable. With a wide range of operating systems, libraries, and accessories, you can tailor your setup to fit your specific needs.
- Caitlin Clarks Net Worth The Wnba Stars Growing Fortune
- Steve Sarkisian The Untold Truths About His Life Career
Another advantage is the vibrant community surrounding Raspberry Pi. You’ll find tons of resources, forums, and tutorials to help you along the way. Whether you’re stuck on a coding issue or need advice on hardware integration, there’s always someone willing to lend a hand. Plus, Raspberry Pi is compatible with a variety of programming languages, so you can choose the one you’re most comfortable with.
Setting Up Your Raspberry Pi for RemoteIoT
What You’ll Need
Before you can start experimenting with Raspberry Pi RemoteIoT, you’ll need a few essential items. Here’s a quick list to get you started:
- Raspberry Pi board (any model will do, but newer models offer better performance)
- MicroSD card (at least 16GB)
- Power supply (make sure it matches your Raspberry Pi model)
- WiFi or Ethernet adapter (depending on your connectivity needs)
- Case (optional but recommended for protection)
- Keyboard and mouse (for initial setup)
- Monitor or TV with HDMI input (again, only needed for setup)
Once you have all the necessary components, it’s time to move on to the next step. Don’t worry if this seems overwhelming; we’ll walk you through the entire process.
Installing the Operating System
The first step in setting up your Raspberry Pi is installing the operating system. The most popular choice is Raspberry Pi OS, which is specifically designed for the device. However, you can also use other Linux-based distributions like Ubuntu or even Windows IoT Core if you prefer.
To install the OS, follow these steps:
- Download the Raspberry Pi Imager from the official website.
- Insert your MicroSD card into your computer.
- Launch the Raspberry Pi Imager and select the OS you want to install.
- Choose your MicroSD card as the target device and click “Write.”
- Once the process is complete, safely eject the card and insert it into your Raspberry Pi.
That’s it! Your Raspberry Pi is now ready to boot up. Connect it to a monitor, keyboard, and mouse, and power it on. You should see the initial setup screen in no time.
Connecting to the Internet
WiFi vs Ethernet
One of the key components of Raspberry Pi RemoteIoT is internet connectivity. Depending on your setup, you can choose between WiFi and Ethernet. WiFi offers convenience and flexibility, allowing you to place your Raspberry Pi anywhere within range of your network. Ethernet, on the other hand, provides a more stable and reliable connection, which is crucial for mission-critical applications.
If you’re using WiFi, make sure to configure the network settings during the initial setup. You can do this by entering your SSID and password in the Raspberry Pi configuration tool. For Ethernet, simply plug in the cable and you’re good to go. It’s worth noting that some Raspberry Pi models come with built-in WiFi, while others require an external adapter.
Securing Your Connection
Security should always be a top priority when working with IoT devices. Since Raspberry Pi RemoteIoT involves remote access, it’s essential to take steps to protect your setup from unauthorized access. Here are a few tips to keep your system safe:
- Change the default username and password to something strong and unique.
- Enable SSH (Secure Shell) for secure remote connections.
- Use a firewall to block unwanted traffic.
- Keep your software and firmware up to date.
- Consider using a VPN for added security.
By following these best practices, you can ensure that your Raspberry Pi RemoteIoT setup remains secure and reliable.
Exploring RemoteIoT Applications
Home Automation
One of the most popular applications of Raspberry Pi RemoteIoT is home automation. With a Raspberry Pi, you can control lights, appliances, and other devices from anywhere in the world. You can even set up schedules and triggers to automate tasks based on your preferences. For example, you could program your lights to turn on at sunset or have your coffee maker start brewing as soon as you wake up.
Environmental Monitoring
Another exciting use case for Raspberry Pi RemoteIoT is environmental monitoring. By connecting sensors to your Raspberry Pi, you can collect data on temperature, humidity, air quality, and more. This information can be used to monitor climate conditions, detect anomalies, and even predict weather patterns. Whether you’re a farmer, scientist, or just someone who cares about the environment, Raspberry Pi RemoteIoT can help you make informed decisions.
Advanced Features and Customizations
Setting Up a Web Server
If you want to take your Raspberry Pi RemoteIoT project to the next level, consider setting up a web server. This allows you to access your data and control your devices through a web browser. There are several web server software options available, including Apache, Nginx, and Lighttpd. Each has its own strengths and weaknesses, so choose the one that best fits your needs.
To set up a web server, follow these general steps:
- Install the web server software of your choice.
- Configure the server settings to match your requirements.
- Create HTML, CSS, and JavaScript files to design your web interface.
- Test the server locally to ensure everything is working as expected.
- Set up port forwarding on your router to allow external access.
With a web server in place, you’ll have full control over your Raspberry Pi RemoteIoT setup from anywhere in the world.
Integrating with Cloud Services
For even more advanced functionality, you can integrate your Raspberry Pi RemoteIoT project with cloud services like AWS, Google Cloud, or Microsoft Azure. This enables you to store and analyze large amounts of data, run machine learning models, and scale your setup as needed. While this does require some additional setup and configuration, the benefits are well worth the effort.
Common Challenges and Solutions
Overheating
One common issue with Raspberry Pi RemoteIoT projects is overheating. Since the device is constantly running and processing data, it can generate a lot of heat, especially if you’re using a powerful model. To prevent this, consider adding a heatsink or fan to your setup. This will help dissipate heat and keep your Raspberry Pi running smoothly.
Power Management
Another challenge is power management. If you’re running your Raspberry Pi RemoteIoT project on batteries or solar panels, you’ll need to carefully monitor power consumption to avoid draining your energy source. This can be done using power management software or hardware solutions like power banks with built-in monitoring capabilities.
Conclusion
Raspberry Pi RemoteIoT offers endless possibilities for tech enthusiasts and developers alike. From home automation to environmental monitoring, the applications are limited only by your imagination. By following the steps outlined in this guide, you can set up your own Raspberry Pi RemoteIoT project and start exploring the world of IoT.
So, what are you waiting for? Grab your Raspberry Pi, gather your tools, and let’s get started. Don’t forget to share your experiences and projects in the comments below. Who knows, you might just inspire someone else to join the Raspberry Pi RemoteIoT revolution!
Table of Contents
- Understanding Raspberry Pi RemoteIoT
- Setting Up Your Raspberry Pi for RemoteIoT
- Connecting to the Internet
- Exploring RemoteIoT Applications
- Advanced Features and Customizations
- Common Challenges and Solutions
- Conclusion


Detail Author:
- Name : Laverne Kulas
- Username : uhartmann
- Email : rubye73@graham.info
- Birthdate : 1990-02-26
- Address : 45798 Stamm Greens Paucekfort, NM 02051-7897
- Phone : 469-790-6768
- Company : Schmeler-Rolfson
- Job : Financial Services Sales Agent
- Bio : Molestias ullam ut sequi ea. Dolore et tempora voluptatem labore omnis ea accusantium. Sit nisi modi consequatur consequatur neque et. Consequuntur labore quis ut repellendus ex modi iusto et.
Socials
tiktok:
- url : https://tiktok.com/@tyler_pfannerstill
- username : tyler_pfannerstill
- bio : Consequatur sit quae eius ratione et est.
- followers : 4112
- following : 518
linkedin:
- url : https://linkedin.com/in/pfannerstillt
- username : pfannerstillt
- bio : Quo facere natus temporibus ut error id.
- followers : 1347
- following : 1336
instagram:
- url : https://instagram.com/tyler_pfannerstill
- username : tyler_pfannerstill
- bio : Dolores exercitationem autem ut ut ut. Fugiat vel minus neque consequatur eaque.
- followers : 380
- following : 2131
