Are you stuck trying to connect your RemoteIoT setup behind a firewall on your Mac? Don't worry, you're not alone. Many users face challenges when dealing with firewalls and remote connections, but there's a way to make it work seamlessly. In this guide, we’ll walk you through the steps to use RemoteIoT behind a firewall on your Mac without breaking a sweat. Let’s dive in!
Imagine this: you’ve set up your RemoteIoT system for managing IoT devices from afar, but now you’re stuck behind a corporate or home firewall. It’s frustrating, right? Well, fear not because this article is here to save the day. We’ll break down exactly how to configure your Mac to allow RemoteIoT to function smoothly, even when firewalls are in the mix.
Whether you’re a tech enthusiast or just someone who wants to get things done, this guide is designed to help you understand the ins and outs of using RemoteIoT behind a firewall. By the end of this article, you’ll have all the tools and knowledge you need to make it happen. So, let’s get started!
Here’s a quick overview of what we’ll cover:
- Understanding firewalls and their impact on RemoteIoT
- Steps to configure your Mac firewall settings
- Tips for troubleshooting common issues
- Best practices for secure RemoteIoT connections
Table of Contents
- Introduction
- What is RemoteIoT?
- Firewall Basics
- Configuring Mac Firewall for RemoteIoT
- Ports and Protocols for RemoteIoT
- Using a VPN for RemoteIoT
- Troubleshooting Common Issues
- Security Best Practices
- Advanced Configurations
- Conclusion
What is RemoteIoT?
RemoteIoT is a powerful tool that allows you to manage and control IoT devices remotely. Whether you’re monitoring sensors, controlling smart home devices, or managing industrial equipment, RemoteIoT simplifies the process by providing a centralized platform. However, when you’re behind a firewall, things can get a bit tricky.
Firewalls are designed to protect your network from unauthorized access, but they can sometimes block legitimate connections. This is where understanding how to configure your Mac firewall becomes crucial. By learning how to set up your system correctly, you can ensure that RemoteIoT works flawlessly without compromising your security.
- David Suchet The Definitive Guide To The Poirot Star More
- Kato Kaelins Net Worth The Truth Revealed Year Update
Firewall Basics
Before we dive into the specifics, let’s talk about firewalls. A firewall is essentially a security system that monitors and controls incoming and outgoing network traffic. It acts as a barrier between your computer and the internet, preventing unauthorized access while allowing legitimate connections.
There are two main types of firewalls:
- Software Firewalls: These are installed on individual devices, like the firewall on your Mac.
- Hardware Firewalls: These are physical devices that protect entire networks, often used in corporate environments.
When you’re trying to use RemoteIoT behind a firewall, you’ll need to ensure that the necessary ports and protocols are allowed. This involves configuring both your Mac’s firewall and any external firewalls that might be in place.
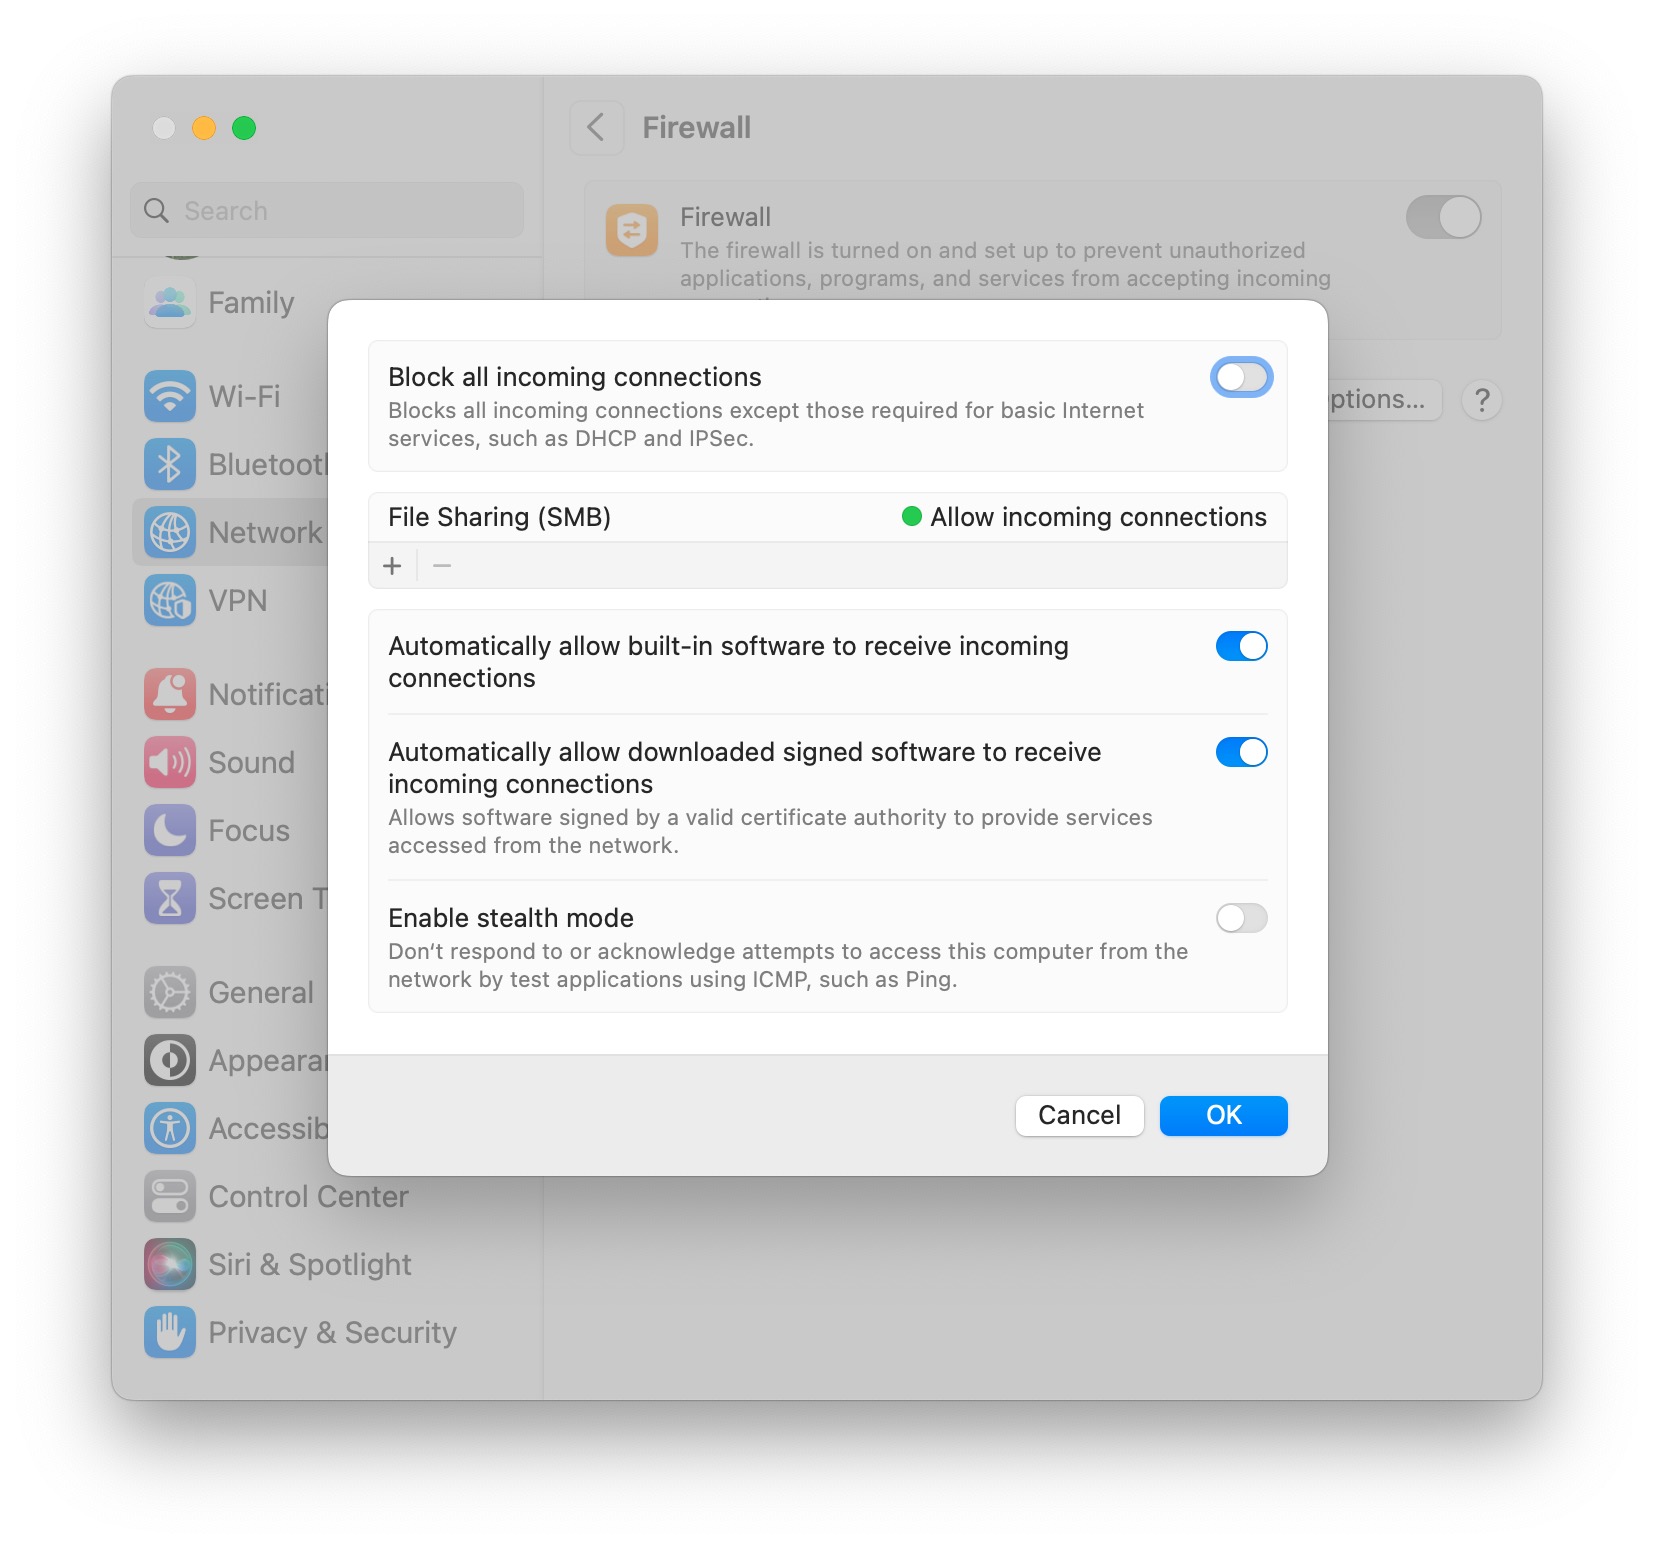
Configuring Mac Firewall for RemoteIoT
Configuring your Mac’s firewall is a straightforward process. Follow these steps to ensure that RemoteIoT can function properly:
Step 1: Accessing Firewall Settings
First, head over to your Mac’s System Preferences and click on Security & Privacy. From there, select the Firewall tab. You might need to unlock the settings by clicking the lock icon and entering your admin password.
Step 2: Enabling Firewall
If your firewall isn’t already enabled, click the “Turn On Firewall” button. This will activate the basic protection offered by macOS.
Step 3: Adding RemoteIoT to Exceptions
To allow RemoteIoT to bypass the firewall, you’ll need to add it to the list of exceptions. Click on the “Firewall Options” button, then click the “+” icon to add an application. Locate the RemoteIoT app and add it to the list. This will ensure that the app can communicate freely with your IoT devices.
And that’s it! Your Mac firewall is now configured to work with RemoteIoT.
Ports and Protocols for RemoteIoT
When dealing with firewalls, it’s essential to understand which ports and protocols your application uses. RemoteIoT typically relies on the following:
- Port 80: Used for HTTP traffic.
- Port 443: Used for HTTPS traffic.
- Port 1883: Used for MQTT communication.
If you’re using a hardware firewall, make sure these ports are open and allowed for inbound and outbound traffic. Additionally, ensure that your network’s DNS settings are correctly configured to resolve RemoteIoT’s domain names.
Using a VPN for RemoteIoT
Another option for using RemoteIoT behind a firewall is to set up a Virtual Private Network (VPN). A VPN creates a secure tunnel between your device and the internet, bypassing any firewall restrictions.
Why Use a VPN?
VPNs offer several benefits, including:
- Enhanced security
- Unrestricted access to RemoteIoT
- Protection against data breaches
There are many VPN services available, both free and paid. Some popular options include NordVPN, ExpressVPN, and ProtonVPN. Choose a service that offers strong encryption and a no-logs policy to ensure maximum security.
Troubleshooting Common Issues
Even with proper configuration, you might encounter some issues when using RemoteIoT behind a firewall. Here are a few common problems and how to fix them:
Issue 1: Connection Timeout
If you’re experiencing connection timeouts, it could be due to blocked ports or incorrect firewall settings. Double-check that the necessary ports are open and that RemoteIoT is added to the firewall’s exception list.
Issue 2: Slow Performance
Slow performance might be caused by network congestion or a poorly configured firewall. Consider upgrading your internet connection or optimizing your firewall rules to improve speed.
Issue 3: Security Alerts
If you receive security alerts from your firewall, it might be flagging RemoteIoT as a potential threat. Review your firewall logs to determine the cause and adjust your settings accordingly.
Security Best Practices
While it’s important to configure your firewall correctly, you should also follow best practices to ensure the security of your RemoteIoT setup:
- Use strong passwords for all accounts.
- Enable two-factor authentication whenever possible.
- Keep your software and firmware up to date.
- Regularly monitor your network for suspicious activity.
By implementing these practices, you can protect your RemoteIoT system from potential threats while maintaining optimal performance.
Advanced Configurations
If you’re looking to take your RemoteIoT setup to the next level, consider exploring advanced configurations. This might include setting up port forwarding, configuring static IP addresses, or implementing advanced firewall rules.
Port forwarding, for example, allows you to direct incoming traffic to specific devices on your network. This can be especially useful if you’re managing multiple IoT devices with RemoteIoT.
Conclusion
Using RemoteIoT behind a firewall on your Mac doesn’t have to be a headache. By following the steps outlined in this guide, you can configure your firewall settings to allow seamless communication with your IoT devices. Remember to always prioritize security and stay informed about the latest trends and technologies in the IoT space.
We’d love to hear your thoughts and experiences with RemoteIoT. Leave a comment below or share this article with your friends and colleagues. And if you’re looking for more tips and tricks, be sure to check out our other articles on the site. Happy networking!


Detail Author:
- Name : Laverne Kulas
- Username : uhartmann
- Email : rubye73@graham.info
- Birthdate : 1990-02-26
- Address : 45798 Stamm Greens Paucekfort, NM 02051-7897
- Phone : 469-790-6768
- Company : Schmeler-Rolfson
- Job : Financial Services Sales Agent
- Bio : Molestias ullam ut sequi ea. Dolore et tempora voluptatem labore omnis ea accusantium. Sit nisi modi consequatur consequatur neque et. Consequuntur labore quis ut repellendus ex modi iusto et.
Socials
tiktok:
- url : https://tiktok.com/@tyler_pfannerstill
- username : tyler_pfannerstill
- bio : Consequatur sit quae eius ratione et est.
- followers : 4112
- following : 518
linkedin:
- url : https://linkedin.com/in/pfannerstillt
- username : pfannerstillt
- bio : Quo facere natus temporibus ut error id.
- followers : 1347
- following : 1336
instagram:
- url : https://instagram.com/tyler_pfannerstill
- username : tyler_pfannerstill
- bio : Dolores exercitationem autem ut ut ut. Fugiat vel minus neque consequatur eaque.
- followers : 380
- following : 2131
