SSH Remote Access for IoT Devices on Raspberry Pi? You’re in the Right Place! Imagine this: you’ve just set up your Raspberry Pi as an IoT device, and now you want to control it remotely from anywhere in the world. Sounds cool, right? But where do you even begin? Don’t worry, because today, we’re diving deep into the world of SSH remote access for IoT devices using Raspberry Pi – and the best part? It’s completely free! Whether you’re a tech enthusiast, a hobbyist, or someone looking to automate their smart home, this guide is your golden ticket to mastering SSH like a pro.
Now, let’s break it down. SSH (Secure Shell) is like a secret tunnel that lets you connect to your Raspberry Pi securely from anywhere. Think of it as a superhero cape for your IoT projects, giving you superpowers to manage your devices without being physically present. This guide will walk you through everything you need to know, from setting up SSH on your Pi to troubleshooting common issues. So, buckle up, grab your Pi, and let’s get started!
Before we dive into the nitty-gritty, here’s a quick heads-up: this guide assumes you have a basic understanding of Raspberry Pi and its setup. If you’re new to the world of Pi, don’t sweat it! We’ll provide plenty of resources and tips along the way to help you catch up. By the end of this article, you’ll be SSH-ing like a champ and controlling your IoT devices like a wizard. Ready? Let’s go!
Table of Contents
- What is SSH and Why Should You Care?
- Setting Up Your Raspberry Pi for SSH
- Enabling SSH on Your Raspberry Pi
- Gaining Remote Access with SSH
- Securing Your SSH Connection
- Troubleshooting Common SSH Issues
- Real-World IoT Applications with SSH
- Frequently Asked Questions
- Essential Tools for SSH Mastery
- Wrapping It All Up
What is SSH and Why Should You Care?
Alright, let’s start with the basics. SSH stands for Secure Shell, and it’s basically a protocol that allows you to connect to a remote computer or device securely. In our case, that remote device is your Raspberry Pi. Think of SSH as a secure communication channel between you and your Pi, where you can send commands, transfer files, and even control the device as if you were sitting right in front of it.
But why should you care about SSH? Well, here’s the deal: if you’re working on IoT projects, you’ll often need to manage your devices remotely. Maybe you’ve set up a weather station in your backyard, or you’re monitoring your home security system. SSH gives you the power to access and control these devices from anywhere, as long as you have an internet connection. Plus, it’s super secure, so you don’t have to worry about hackers snooping around your data.
So, whether you’re tinkering with IoT gadgets or building a smart home system, SSH is your go-to tool for remote access. And the best part? It’s free! No fancy software or expensive subscriptions required. Just your Pi, a few simple commands, and you’re good to go.
Benefits of Using SSH for IoT Devices
- Secure Communication: SSH encrypts all data transmitted between you and your device, ensuring that no one can intercept or tamper with your information.
- Remote Control: You can manage your Raspberry Pi from anywhere in the world, making it perfect for IoT projects that require constant monitoring.
- Automation: SSH allows you to automate tasks and scripts on your Pi, saving you time and effort in the long run.
- Cost-Effective: With SSH, you don’t need to invest in expensive hardware or software. All you need is your Pi and a stable internet connection.
Setting Up Your Raspberry Pi for SSH
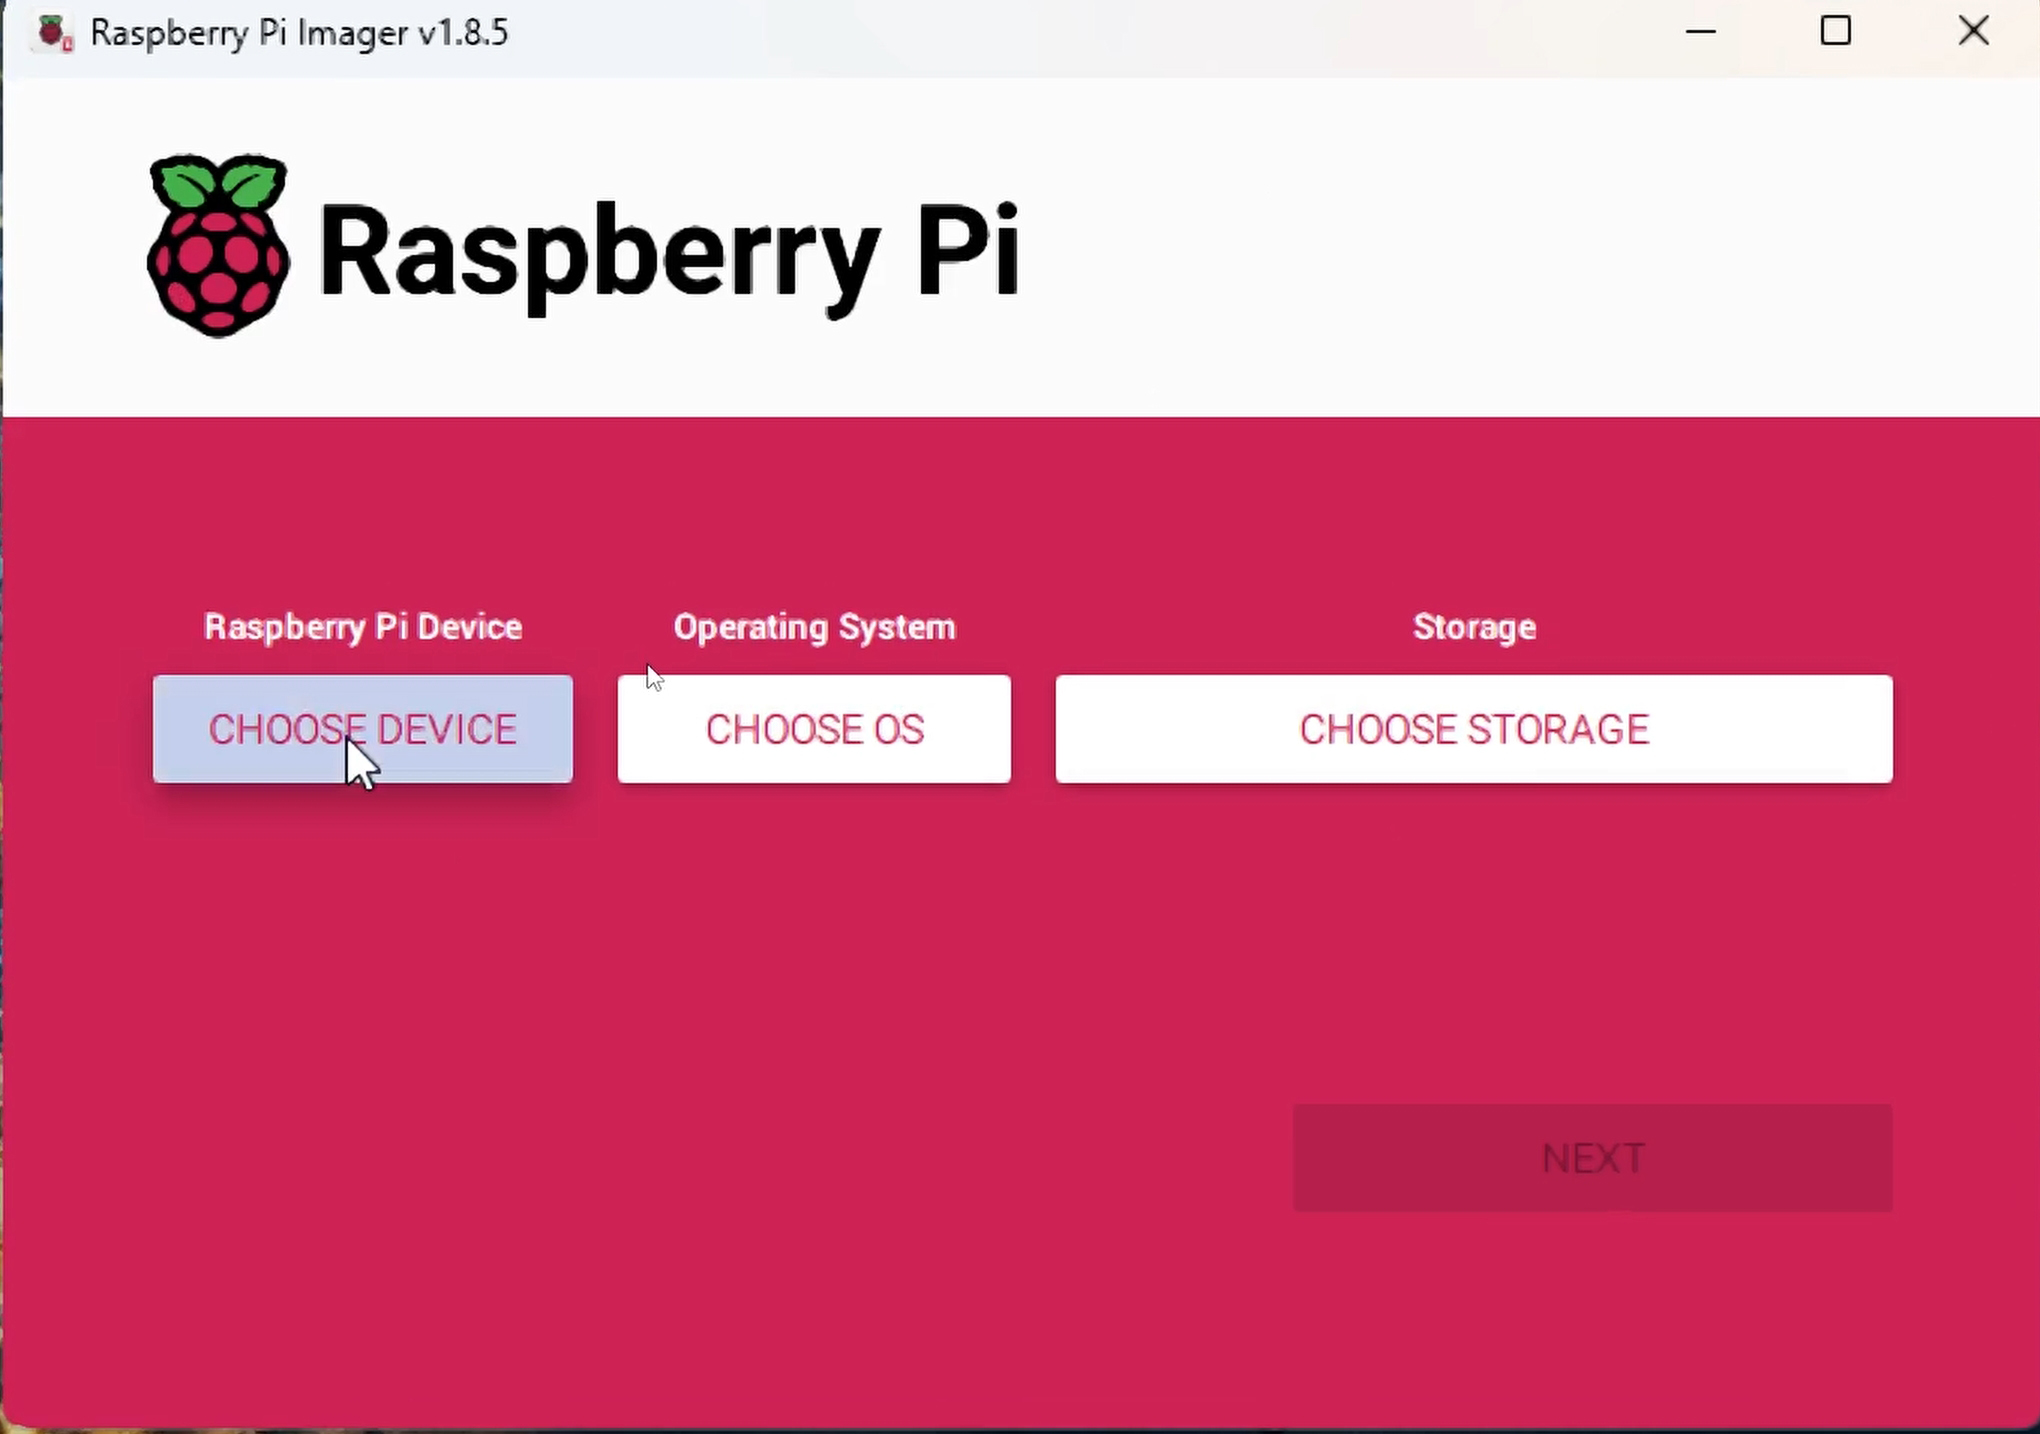
Before we dive into SSH, let’s make sure your Raspberry Pi is all set up and ready to roll. First things first, you’ll need to install the latest version of Raspberry Pi OS on your device. If you’re new to this, don’t panic! It’s super easy. Just download the Raspberry Pi Imager from the official website, plug in your microSD card, and follow the on-screen instructions. Boom! Your Pi is ready to go.
Once your Pi is up and running, it’s time to configure it for SSH. This involves a few simple steps, but trust me, it’s worth the effort. First, you’ll need to connect your Pi to your local network via Wi-Fi or Ethernet. Next, you’ll need to find your Pi’s IP address, which you can do by typing the command hostname -I in the terminal. This IP address is crucial because it’s what you’ll use to connect to your Pi remotely.
Now, let’s talk about SSH itself. By default, SSH is disabled on Raspberry Pi OS, so you’ll need to enable it manually. Don’t worry, we’ll cover that in the next section. But for now, just make sure your Pi is up and running, connected to your network, and ready to accept SSH connections. Easy peasy, right?
What You’ll Need for SSH Setup
- A Raspberry Pi (any model will do)
- A microSD card with Raspberry Pi OS installed
- An Ethernet cable or Wi-Fi connection
- A computer or laptop to connect to your Pi
- A terminal application (like PuTTY for Windows or Terminal for macOS/Linux)
Enabling SSH on Your Raspberry Pi
Alright, let’s get down to business. Enabling SSH on your Raspberry Pi is a breeze, and there are a couple of ways to do it. The first method involves using the Raspberry Pi Configuration tool. Simply open the terminal on your Pi and type sudo raspi-config. This will bring up a menu with various options. Navigate to “Interfacing Options,” then select “SSH,” and finally, choose “Enable.” That’s it! SSH is now enabled on your Pi.
Alternatively, you can enable SSH by creating a file called ssh (no extension) on your Pi’s boot partition. Here’s how: insert your Pi’s microSD card into your computer, locate the boot partition, and create a new file named ssh. That’s all you need to do! When you boot up your Pi, SSH will be automatically enabled.
Now, let’s talk about security. While enabling SSH is great, it’s important to make sure your connection is secure. We’ll cover this in more detail later, but for now, just remember to change the default password for your Pi’s user account. You can do this by typing sudo passwd pi in the terminal and following the prompts.
Best Practices for Enabling SSH
- Always change the default password for your Pi’s user account.
- Use a strong, unique password that’s difficult to guess.
- Consider disabling password authentication and using SSH keys instead (more on this later).
Gaining Remote Access with SSH
Now that SSH is enabled on your Pi, it’s time to connect to it remotely. This is where the magic happens! To connect to your Pi via SSH, you’ll need a terminal application on your computer. If you’re using macOS or Linux, you’re good to go – Terminal is already installed. For Windows users, you’ll need to download a program like PuTTY or use the built-in Windows Terminal.
Once you have your terminal ready, open it up and type the following command: ssh pi@your_pi_ip_address. Replace your_pi_ip_address with the actual IP address of your Pi. You’ll be prompted to enter your Pi’s password, and voilà! You’re now connected to your Pi remotely.
But what if you want to access your Pi from outside your local network? That’s where things get a little tricky. You’ll need to set up port forwarding on your router to allow external SSH connections. This involves forwarding port 22 (the default SSH port) to your Pi’s local IP address. We’ll cover this in more detail in the troubleshooting section, but for now, just know that it’s possible to access your Pi from anywhere in the world.
Tips for Seamless Remote Access
- Use a static IP address for your Pi to avoid IP conflicts.
- Consider using a Dynamic DNS service to make it easier to connect to your Pi from outside your network.
- Always keep your SSH software and firmware up to date to ensure maximum security.
Securing Your SSH Connection
Security is key when it comes to SSH. While SSH is inherently secure, there are still some best practices you can follow to make sure your connection is as safe as possible. First and foremost, change the default password for your Pi’s user account. A strong, unique password is your first line of defense against hackers.
Next, consider disabling password authentication altogether and using SSH keys instead. SSH keys are like digital keys that allow you to connect to your Pi without entering a password every time. To set this up, generate a key pair on your computer using the command ssh-keygen. Then, copy the public key to your Pi using the command ssh-copy-id pi@your_pi_ip_address. From now on, you’ll be able to connect to your Pi without entering a password.
Finally, consider changing the default SSH port from 22 to something less obvious. This will make it harder for hackers to find your SSH connection and attempt to brute-force their way in. Just remember to update your port forwarding settings on your router if you do this.
Advanced Security Measures
- Use a firewall to restrict access to your Pi’s SSH port.
- Enable two-factor authentication for added security.
- Regularly monitor your SSH logs for suspicious activity.
Troubleshooting Common SSH Issues
Even the best-laid plans can go awry, and SSH is no exception. If you’re having trouble connecting to your Pi via SSH, don’t panic! Here are some common issues and how to fix them:
- Connection Refused: Make sure SSH is enabled on your Pi and that your IP address is correct. Also, check your router’s port forwarding settings.
- Permission Denied: Double-check your username and password. If you’re using SSH keys, make sure your public key is correctly copied to your Pi.
- Timeout Error: This usually means your Pi is unreachable. Check your network settings and make sure your Pi is connected to the internet.
If none of these solutions work, try restarting your Pi and your router. Sometimes, a simple reboot can fix a lot of problems. And if all else fails, don’t hesitate to reach out to the Raspberry Pi community for help. There’s a wealth of knowledge out there, and someone is bound to have encountered the same issue as you.
Real-World IoT Applications with SSH
Now that you’ve mastered SSH, let’s talk about some real-world applications for your Raspberry Pi IoT projects. The possibilities are endless! Here are just a few ideas to get you started:
- Home Automation: Use SSH to control smart home devices like lights, thermostats, and security systems.
- Weather Station: Set up a weather station in your backyard and monitor temperature, humidity, and other data remotely.
- Security Camera: Turn your Pi into a security camera and access live footage from anywhere in the world.
- Server Management: Use your Pi as a lightweight server for hosting websites, databases, or other services.
The beauty of SSH is that it gives you the flexibility to manage and control your IoT devices from anywhere. Whether you’re building a smart home system or monitoring environmental data, SSH is your trusty sidekick in the world of IoT.

Detail Author:
- Name : Bertha Farrell
- Username : jarod91
- Email : omacejkovic@flatley.com
- Birthdate : 1975-01-13
- Address : 46130 Watsica Harbor Legrosmouth, ID 80745-3236
- Phone : +1 (928) 306-0923
- Company : Fisher, Reilly and Hand
- Job : Hoist and Winch Operator
- Bio : Rerum velit quam et voluptate. Sint dolores iure nesciunt quia ab iste dicta enim. Recusandae dolor sit quod in.
Socials
tiktok:
- url : https://tiktok.com/@vandervortd
- username : vandervortd
- bio : Unde quo voluptatem quo perferendis sed. Alias dolorem soluta rerum odio.
- followers : 5779
- following : 385
instagram:
- url : https://instagram.com/deshawn3329
- username : deshawn3329
- bio : Ut qui ullam velit minus. Pariatur fuga sed omnis. Aut tenetur magni exercitationem est in.
- followers : 2885
- following : 842
facebook:
- url : https://facebook.com/vandervort1988
- username : vandervort1988
- bio : Excepturi illo molestiae sit delectus necessitatibus ea.
- followers : 4861
- following : 2987
twitter:
- url : https://twitter.com/deshawnvandervort
- username : deshawnvandervort
- bio : Libero distinctio iusto qui adipisci rem nihil minima voluptatem. Omnis soluta accusamus nisi exercitationem.
- followers : 964
- following : 2965
linkedin:
- url : https://linkedin.com/in/vandervort2024
- username : vandervort2024
- bio : Velit magni natus et qui quis illum voluptates.
- followers : 5571
- following : 1303
