Hey there, tech enthusiast! If you're reading this, chances are you're looking to dive deep into the world of Raspberry Pi and secure remote access without breaking the bank. Well, you've come to the right place! In today's digital age, setting up a Raspberry Pi for secure remote access is not just a cool project—it's practically essential. Whether you're managing a home server, running IoT devices, or just want to tinker around, knowing how to secure your Raspberry Pi remotely can save you a lot of headaches.
Now, let's break it down. Raspberry Pi secure remote access free isn't just about connecting to your device from afar; it's about doing it safely. Imagine leaving your front door unlocked while you're out of town. Not a great idea, right? The same goes for your Raspberry Pi. Without proper security measures, your setup could be vulnerable to all sorts of digital threats. But don't worry—we're here to guide you through the process step by step.
By the end of this article, you'll have everything you need to set up a secure remote connection to your Raspberry Pi, all for free. No expensive software, no complicated setups—just straightforward, practical advice that works. So, buckle up and let's get started!
- Caitlin Clarks Net Worth The Wnba Stars Growing Fortune
- Nigella Lawson News Christmas Ads Recipes More
Table of Contents
- Introduction to Raspberry Pi
- Why Secure Remote Access Matters
- Free Tools for Remote Access
- Setting Up SSH
- Securing Your SSH Connection
- Using VPN for Extra Security
- Alternative Methods
- Common Mistakes to Avoid
- Troubleshooting Tips
- Conclusion and Next Steps
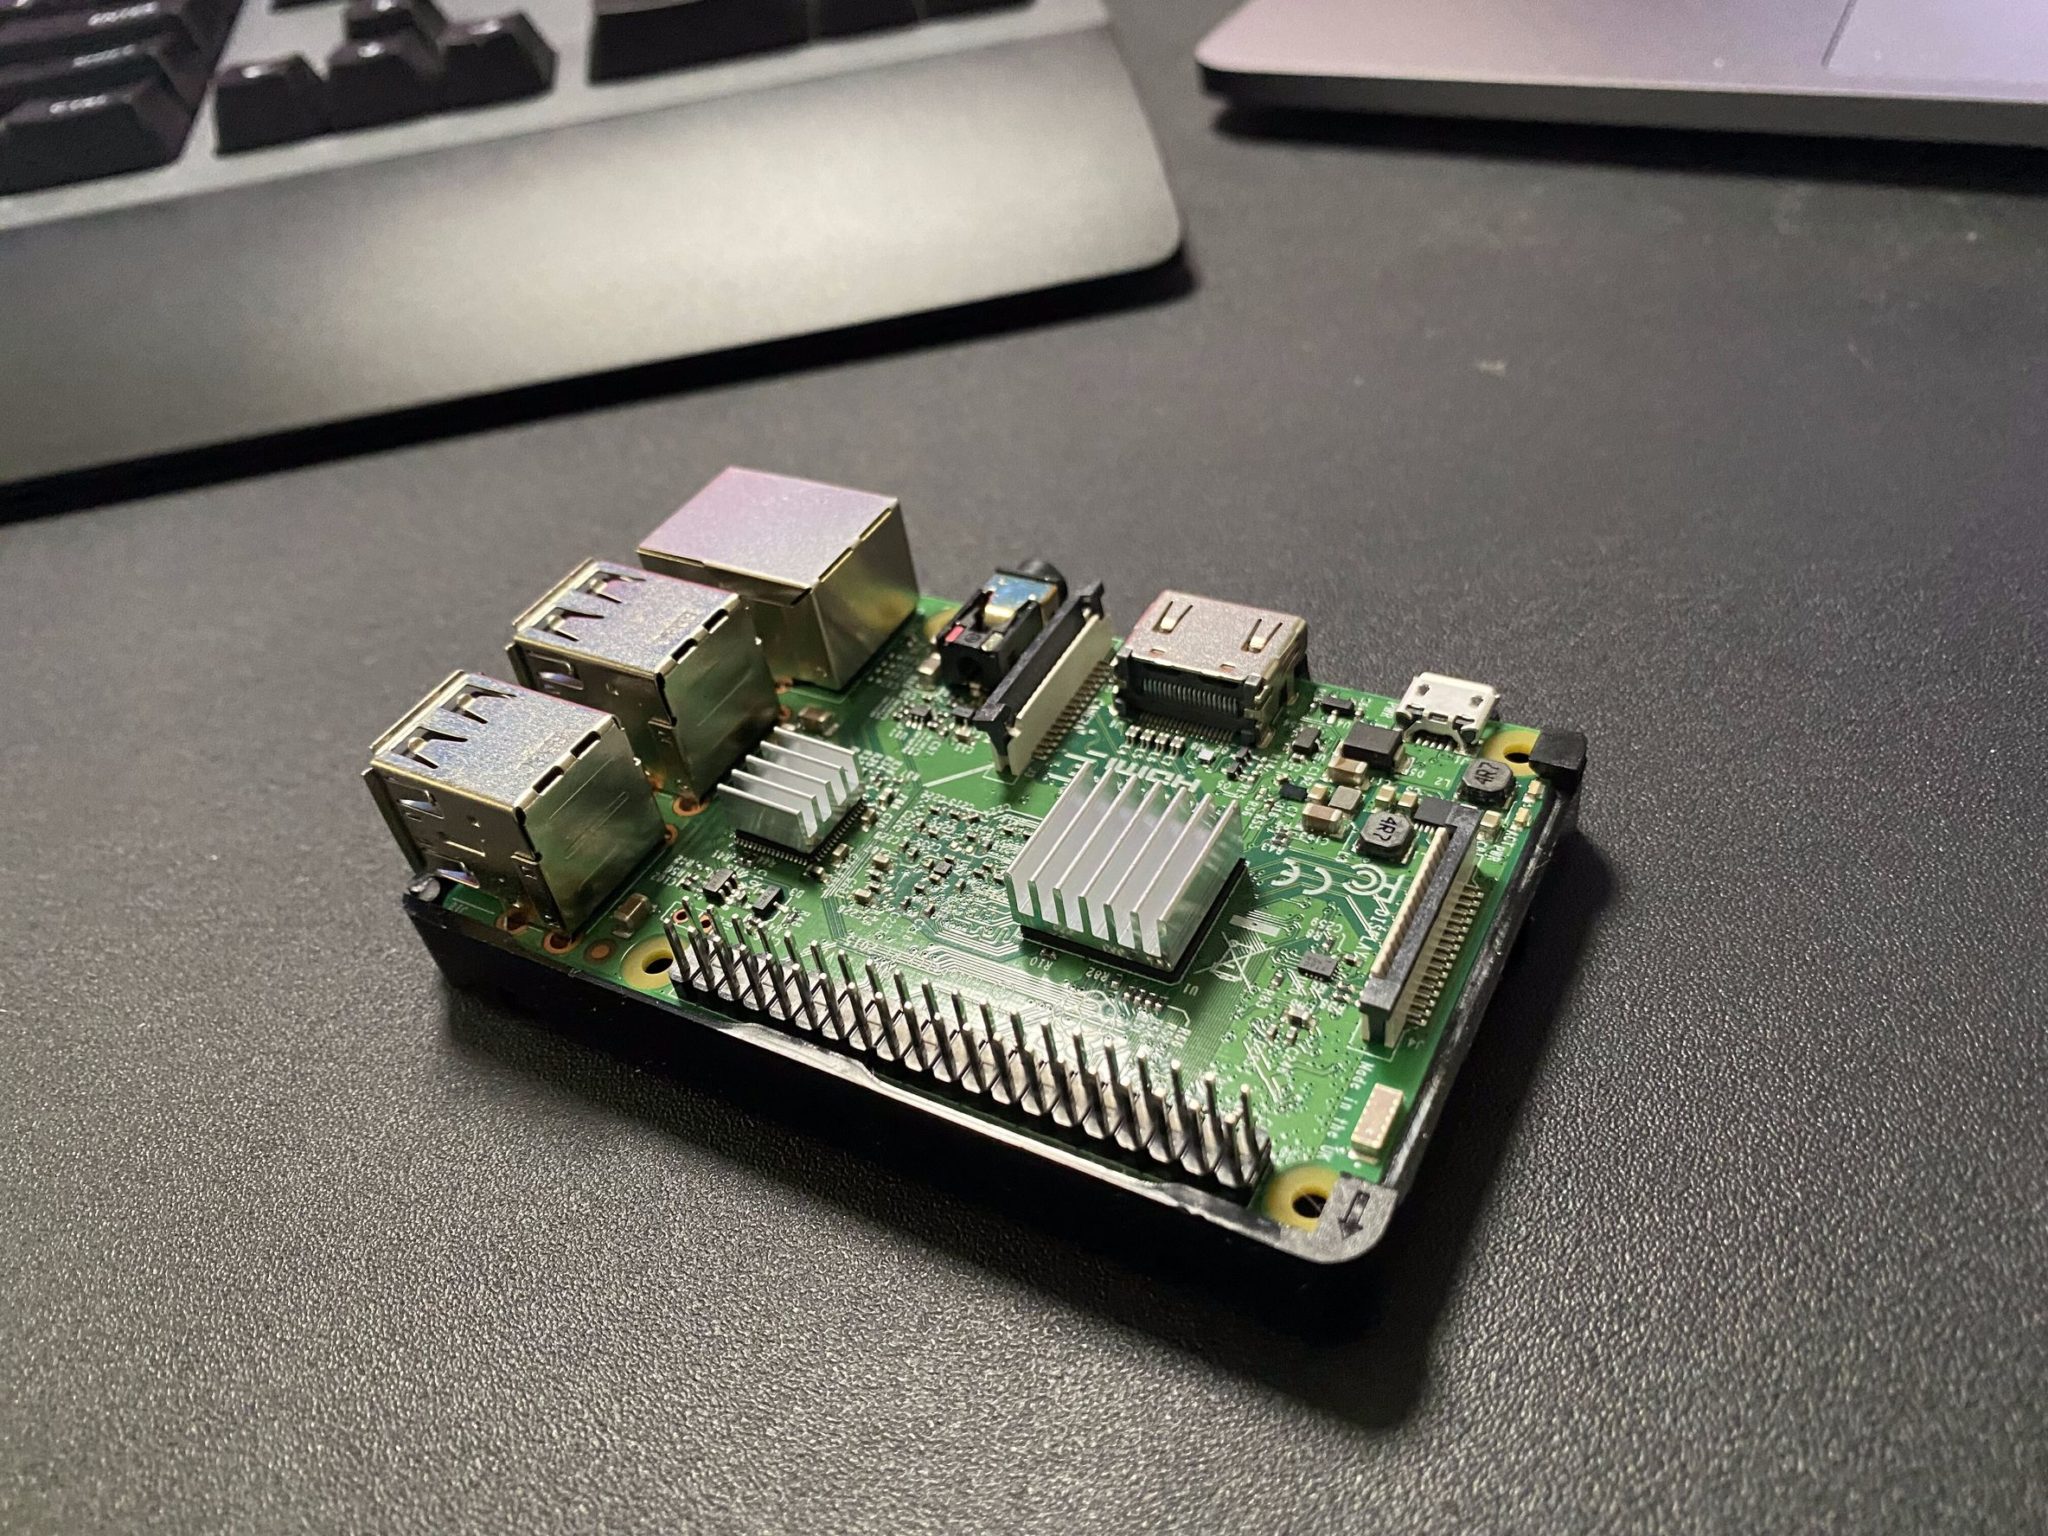
Introduction to Raspberry Pi
Alright, let's start with the basics. The Raspberry Pi is basically a tiny computer that fits in the palm of your hand. It's super versatile and can be used for anything from coding projects to home automation. But what makes it truly awesome is its ability to connect to the internet and interact with other devices remotely. That's where secure remote access comes in.
What Makes Raspberry Pi Unique?
Here's the thing: Raspberry Pi isn't just another gadget. It's a powerful little machine that can handle tasks ranging from simple scripts to complex server operations. Plus, it's affordable, which makes it accessible for hobbyists, students, and professionals alike. And guess what? You can control it from anywhere in the world—if you know how to set it up properly.
Why Secure Remote Access Matters
Now, here's the deal: remote access is great, but it comes with risks. If you're not careful, your Raspberry Pi could become an easy target for hackers. Think about it—your device holds sensitive data, runs important processes, and interacts with other devices on your network. Without proper security measures, you're basically rolling the dice.
Secure remote access ensures that only authorized users can connect to your Raspberry Pi. This means no unauthorized access, no data breaches, and no unwanted surprises. It's like putting a lock on your digital front door.
Free Tools for Remote Access
Luckily, there are plenty of free tools out there that can help you set up secure remote access for your Raspberry Pi. Here are some of the best ones:
- SSH (Secure Shell): The go-to method for remote command-line access.
- TeamViewer: A user-friendly option for graphical remote access.
- VNC (Virtual Network Computing): Great for controlling your Raspberry Pi's desktop interface.
- ngrok: A handy tool for creating temporary public URLs for local services.
These tools are not only free but also widely used and trusted by the tech community. Plus, they're relatively easy to set up, even for beginners.
Setting Up SSH
SSH is one of the most popular methods for secure remote access. It allows you to connect to your Raspberry Pi's terminal from another device, making it perfect for managing files, running scripts, and configuring settings.
How to Enable SSH on Your Raspberry Pi
Enabling SSH on your Raspberry Pi is super easy. Just follow these steps:
- Boot up your Raspberry Pi and log in.
- Open the terminal and type
sudo raspi-config. - Use the arrow keys to navigate to "Interfacing Options" and press Enter.
- Select "SSH" and enable it.
- Reboot your Raspberry Pi to apply the changes.
And that's it! Your Raspberry Pi is now ready for SSH connections.
Securing Your SSH Connection
Now that you've enabled SSH, it's time to make sure your connection is as secure as possible. Here are a few tips:
- Change the Default Pi Password: The default password is "raspberry," and it's not very secure. Update it to something stronger.
- Disable Root Login: Root access gives full control over your system, so it's best to disable it for SSH.
- Use Key-Based Authentication: Instead of passwords, use SSH keys for added security.
- Change the Default SSH Port: Moving away from the default port (22) can help deter automated attacks.
These steps might seem small, but they go a long way in protecting your Raspberry Pi from potential threats.
Using VPN for Extra Security
If you want to take your security to the next level, consider using a VPN. A Virtual Private Network encrypts your internet traffic, making it much harder for hackers to intercept your data. Plus, it adds an extra layer of anonymity when connecting to your Raspberry Pi from public Wi-Fi networks.
How to Set Up a VPN on Your Raspberry Pi
Setting up a VPN on your Raspberry Pi is pretty straightforward. Here's what you need to do:
- Choose a reliable VPN provider (like OpenVPN or ProtonVPN).
- Download and install the necessary software on your Raspberry Pi.
- Follow the provider's instructions to configure the VPN settings.
- Test the connection to ensure everything is working as expected.
With a VPN in place, you can rest easy knowing your remote connections are secure.
Alternative Methods
While SSH and VPN are great options, they're not the only ways to achieve secure remote access. Here are a few other methods worth considering:
TeamViewer
TeamViewer is a user-friendly tool that allows you to access your Raspberry Pi's desktop interface from anywhere. It's perfect for those who prefer a graphical approach to remote management.
VNC
VNC is another graphical remote access solution that works well with Raspberry Pi. It's lightweight, easy to set up, and supports multiple platforms.
ngrok
ngrok is a handy tool for creating temporary public URLs for local services. It's great for testing and debugging purposes, especially when working on web-based projects.
Common Mistakes to Avoid
When setting up secure remote access for your Raspberry Pi, there are a few common mistakes you'll want to avoid:
- Using Weak Passwords: A strong password is your first line of defense. Don't skimp on it.
- Ignoring Software Updates: Keeping your system up to date is crucial for security.
- Skipping Firewall Configuration: A firewall can block unwanted traffic and protect your device from attacks.
- Not Testing Your Setup: Always test your remote access setup before relying on it.
By avoiding these mistakes, you'll be well on your way to a secure and reliable remote access solution.
Troubleshooting Tips
Even with the best-laid plans, things can sometimes go wrong. Here are a few troubleshooting tips to help you resolve common issues:
- Check Your Network Connection: Make sure your Raspberry Pi is connected to the internet.
- Verify SSH Configuration: Double-check your SSH settings to ensure everything is correct.
- Inspect Firewall Rules: Ensure your firewall isn't blocking incoming SSH connections.
- Consult the Logs: Check the system logs for any error messages that might point to the issue.
With these tips in mind, you'll be able to tackle most problems that come your way.
Conclusion and Next Steps
There you have it—a comprehensive guide to setting up Raspberry Pi secure remote access free. By following the steps outlined in this article, you'll be able to connect to your Raspberry Pi from anywhere in the world, all while keeping your device safe and secure.
Remember, security is an ongoing process. Stay vigilant, keep your system up to date, and don't hesitate to explore new tools and techniques as they become available. And if you found this article helpful, why not share it with your friends? Or leave a comment below and let us know what you think!
Happy tinkering, and stay safe out there!


Detail Author:
- Name : Ms. Kathlyn Yundt II
- Username : august99
- Email : clint73@hotmail.com
- Birthdate : 1989-05-17
- Address : 385 Borer Oval East Verdaville, MS 59476
- Phone : +1 (407) 717-1332
- Company : Kshlerin Group
- Job : Audio and Video Equipment Technician
- Bio : Eveniet eveniet sint neque eum quod. Occaecati placeat laboriosam perferendis placeat. Recusandae ea vero id occaecati. Ea quia at facere non est aspernatur ut.
Socials
instagram:
- url : https://instagram.com/schimmela
- username : schimmela
- bio : Adipisci tenetur mollitia odio qui sit velit impedit inventore. Qui sit commodi nemo harum.
- followers : 6517
- following : 1284
facebook:
- url : https://facebook.com/aschimmel
- username : aschimmel
- bio : Perspiciatis eaque recusandae ut sed commodi fugiat.
- followers : 3494
- following : 1165
