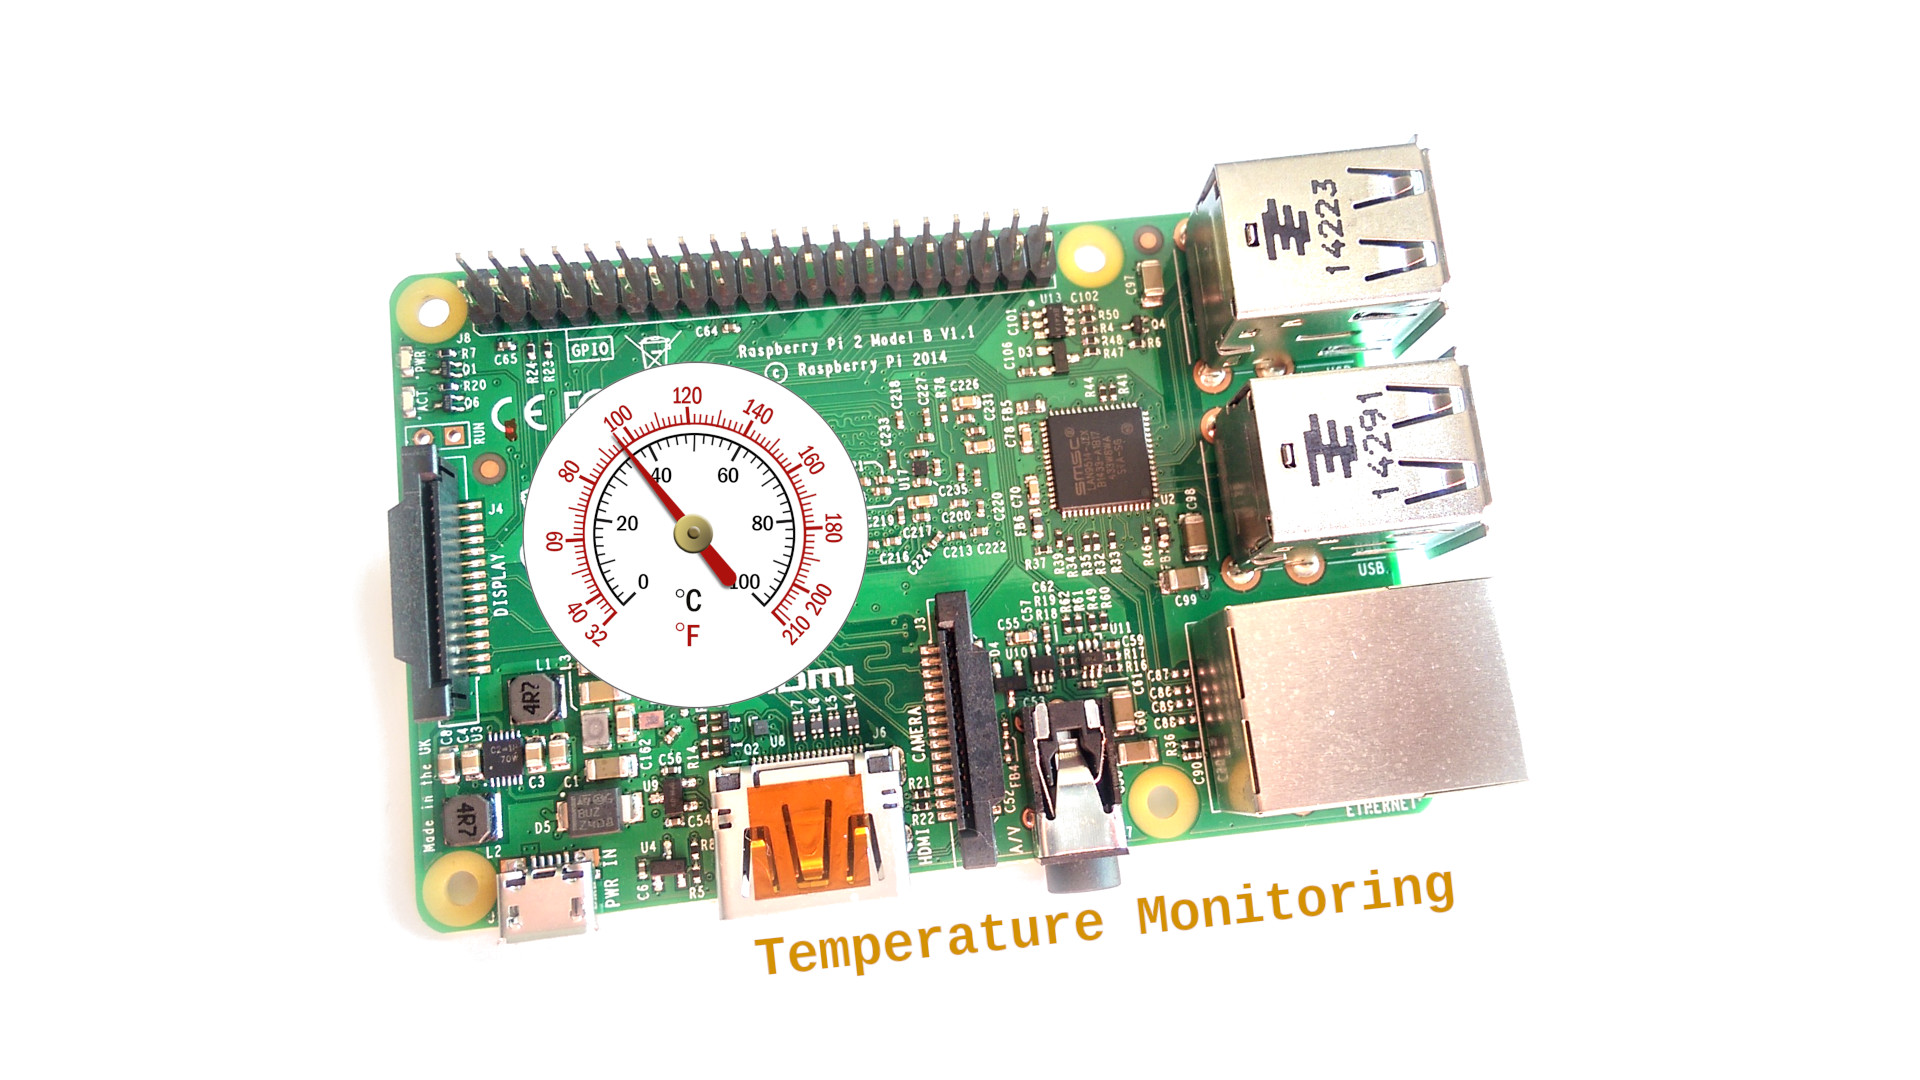
Imagine this—you’re sitting comfortably on your couch, sipping coffee, while your Raspberry Pi is quietly monitoring every nook and cranny of your smart home or industrial setup. But wait, what if you could access all that data remotely, for free? Yes, you heard it right—FREE remote IoT monitoring with Raspberry Pi is not just a dream anymore. It’s a reality, and we’re about to break it down step by step.
Let’s face it, in today’s tech-driven world, IoT (Internet of Things) is no longer just a buzzword. It’s a game-changer. From tracking temperature and humidity to managing security systems or even monitoring industrial equipment, IoT has become an essential part of our lives. And when you throw Raspberry Pi into the mix, things get even more exciting.
So, why should you care? Because with the right tools and knowledge, you can set up a free remote IoT monitoring system using Raspberry Pi, saving both time and money. Whether you’re a tech enthusiast, a DIY hobbyist, or a small business owner, this guide is for you. Let’s dive in!
Table of Contents
- Introduction to Free Remote IoT Monitoring
- Raspberry Pi Basics: What You Need to Know
- Why Choose Free Solutions for Remote IoT Monitoring?
- Step-by-Step Guide to Setting Up Remote IoT Monitoring
- Tools You’ll Need
- Best Free Software Options for IoT Monitoring
- Ensuring Data Security in Your Remote IoT Setup
- Common Issues and How to Fix Them
- Real-World Applications of Free Remote IoT Monitoring
- Future Trends in IoT Monitoring with Raspberry Pi
Introduction to Free Remote IoT Monitoring
Let’s start with the basics. Remote IoT monitoring with Raspberry Pi is like having a personal assistant that keeps an eye on everything for you, no matter where you are. Whether it’s checking the temperature of your greenhouse, monitoring the energy consumption of your home, or keeping tabs on industrial machinery, Raspberry Pi can handle it all.
But why go for free solutions? Well, because who doesn’t love saving money? Plus, there are plenty of open-source tools and platforms out there that offer robust features without breaking the bank. From Node-RED to MQTT, the possibilities are endless.
Why Raspberry Pi?
Raspberry Pi is not just another gadget; it’s a versatile little computer that can be programmed to do almost anything. Its affordability, compact size, and ease of use make it the perfect choice for IoT enthusiasts. Plus, with a thriving community of developers and tons of tutorials available online, you’ll never run out of ideas or support.
Raspberry Pi Basics: What You Need to Know
Before we dive deeper, let’s get familiar with the basics of Raspberry Pi. Think of it as a mini-computer that runs on Linux-based operating systems. It’s equipped with GPIO (General Purpose Input/Output) pins, which allow it to interact with external devices like sensors and actuators.
Here are a few key things to keep in mind:
- Models: There are several models of Raspberry Pi, but for IoT projects, the Raspberry Pi 4 is often recommended due to its powerful processor and ample RAM.
- Operating Systems: Raspberry Pi supports a variety of operating systems, but Raspbian (now called Raspberry Pi OS) is the most popular choice for beginners.
- Power Supply: Make sure you have a reliable power source. A good quality USB-C power adapter is a must.
Why Choose Free Solutions for Remote IoT Monitoring?
Let’s talk numbers. Setting up a professional-grade IoT monitoring system can cost thousands of dollars. But with free solutions, you can achieve similar results without burning a hole in your pocket. Here’s why:
- Cost-Effective: Free software and open-source platforms eliminate the need for expensive licenses.
- Customizable: You have full control over the system, allowing you to tailor it to your specific needs.
- Community Support: The IoT community is full of experts who are more than willing to help you out with tips and tricks.
Step-by-Step Guide to Setting Up Remote IoT Monitoring
Now that you’re convinced, let’s walk through the steps to set up your free remote IoT monitoring system with Raspberry Pi.
Step 1: Gather Your Tools
You’ll need a few essential items to get started:
- Raspberry Pi (preferably Raspberry Pi 4)
- MicroSD card with Raspberry Pi OS installed
- Sensors (e.g., temperature, humidity, motion detectors)
- Power supply and cables
Step 2: Install the Operating System
Once you have your Raspberry Pi, the first step is to install the operating system. Download Raspberry Pi OS from the official website and use a tool like Balena Etcher to flash it onto your MicroSD card.
Step 3: Set Up Networking
Connecting your Raspberry Pi to the internet is crucial for remote monitoring. You can use either Ethernet or Wi-Fi, depending on your setup. Make sure to configure your Wi-Fi settings in the Raspberry Pi OS.
Step 4: Install Monitoring Software
There are several free software options available for IoT monitoring. Some popular choices include:
- Node-RED: A visual tool for wiring together hardware devices, APIs, and online services.
- MQTT: A lightweight messaging protocol ideal for IoT applications.
- Grafana: A powerful tool for creating dashboards and visualizing data.
Tools You’ll Need
Here’s a quick rundown of the tools you’ll need to set up your free remote IoT monitoring system:
- Raspberry Pi (Model 4 recommended)
- MicroSD card (16GB or higher)
- Sensors (temperature, humidity, motion, etc.)
- Power supply and cables
- Wi-Fi or Ethernet for connectivity
- Software like Node-RED, MQTT, and Grafana
Best Free Software Options for IoT Monitoring
When it comes to software, the options are endless. Here are a few top picks:
Node-RED
Node-RED is a flow-based programming tool that makes it easy to wire together hardware devices, APIs, and online services. It’s perfect for beginners and advanced users alike.
MQTT
MQTT (Message Queuing Telemetry Transport) is a lightweight messaging protocol that’s ideal for IoT applications. It’s designed for low-bandwidth environments and works seamlessly with Raspberry Pi.
Grafana
Grafana is a data visualization platform that allows you to create stunning dashboards. It integrates well with other tools like Node-RED and MQTT, making it a great choice for remote IoT monitoring.
Ensuring Data Security in Your Remote IoT Setup
Data security is a top priority when it comes to remote IoT monitoring. Here are a few tips to keep your system secure:
- Use Strong Passwords: Always use strong, unique passwords for your Raspberry Pi and any connected devices.
- Enable SSH with Key Authentication: Disable password-based SSH login and use key-based authentication instead.
- Keep Software Updated: Regularly update your operating system and software to protect against vulnerabilities.
Common Issues and How to Fix Them
Even the best-laid plans can go awry. Here are some common issues you might encounter and how to fix them:
- Connection Problems: Check your Wi-Fi settings and ensure your Raspberry Pi is connected to the internet.
- Software Errors: Make sure all your software is up to date and properly configured.
- Sensor Malfunctions: Test your sensors individually to identify any issues.
Real-World Applications of Free Remote IoT Monitoring
So, what can you actually do with free remote IoT monitoring? Here are a few real-world applications:
- Home Automation: Monitor and control smart home devices like lights, thermostats, and security systems.
- Agriculture: Track soil moisture, temperature, and humidity levels in greenhouses or farms.
- Industrial Monitoring: Keep an eye on machinery performance and energy consumption in factories.
Future Trends in IoT Monitoring with Raspberry Pi
The future of IoT monitoring with Raspberry Pi looks bright. With advancements in AI and machine learning, we can expect even more sophisticated systems that can predict and prevent issues before they occur. Additionally, the growing availability of low-cost sensors and modules will make it easier than ever to build custom IoT solutions.
As the IoT ecosystem continues to evolve, staying up-to-date with the latest trends and technologies will be key to maximizing the potential of your Raspberry Pi-based monitoring system.
Conclusion
In conclusion, free remote IoT monitoring with Raspberry Pi is not only possible but also incredibly rewarding. By following the steps outlined in this guide, you can set up a robust system that meets your needs without breaking the bank.
So, what are you waiting for? Grab your Raspberry Pi, gather your tools, and start building your very own remote IoT monitoring system today. And don’t forget to share your experience with us in the comments below. Happy tinkering!


Detail Author:
- Name : Prof. Sage Kuvalis V
- Username : filomena18
- Email : kwalter@nicolas.org
- Birthdate : 1970-10-02
- Address : 389 Emory Shore Reichelborough, MI 57568-9120
- Phone : (507) 448-1989
- Company : Larson, Greenholt and Rolfson
- Job : Archivist
- Bio : Dignissimos totam consequatur quia error architecto. Sit repudiandae veniam dolorem. Excepturi necessitatibus dolor itaque sit odio iusto aut. Libero quia et asperiores occaecati natus.
Socials
tiktok:
- url : https://tiktok.com/@floy5288
- username : floy5288
- bio : Libero et ducimus inventore vero ea praesentium et.
- followers : 1677
- following : 1389
twitter:
- url : https://twitter.com/greenfelderf
- username : greenfelderf
- bio : Numquam mollitia ipsum vel molestiae temporibus. Quis nisi excepturi natus dolore omnis veritatis. Nobis ut minima hic sapiente earum.
- followers : 201
- following : 934
instagram:
- url : https://instagram.com/fgreenfelder
- username : fgreenfelder
- bio : Debitis veritatis sit eum quo. Assumenda accusantium velit soluta. Quia officiis neque animi.
- followers : 5687
- following : 1576
facebook:
- url : https://facebook.com/greenfelder2016
- username : greenfelder2016
- bio : Quo veniam molestiae ut vel. Illum et quasi quam et non voluptatem.
- followers : 3156
- following : 676
linkedin:
- url : https://linkedin.com/in/greenfelder1998
- username : greenfelder1998
- bio : Laboriosam eum repellendus fugiat iusto atque.
- followers : 2164
- following : 2612
